
إنشاء أول Workflow في n8n خطوة بخطوة | Create Your First n8n Workflow
تعلّم ببساطة، خطوة بخطوة
Learn simply, step by step
معلومة واضحة، ثم خطوة جديدة.
Clear knowledge, one step at a time.
إنشاء أول Workflow في n8n خطوة بخطوة Create Your First n8n Workflow
إنشاء أول Workflow في n8n
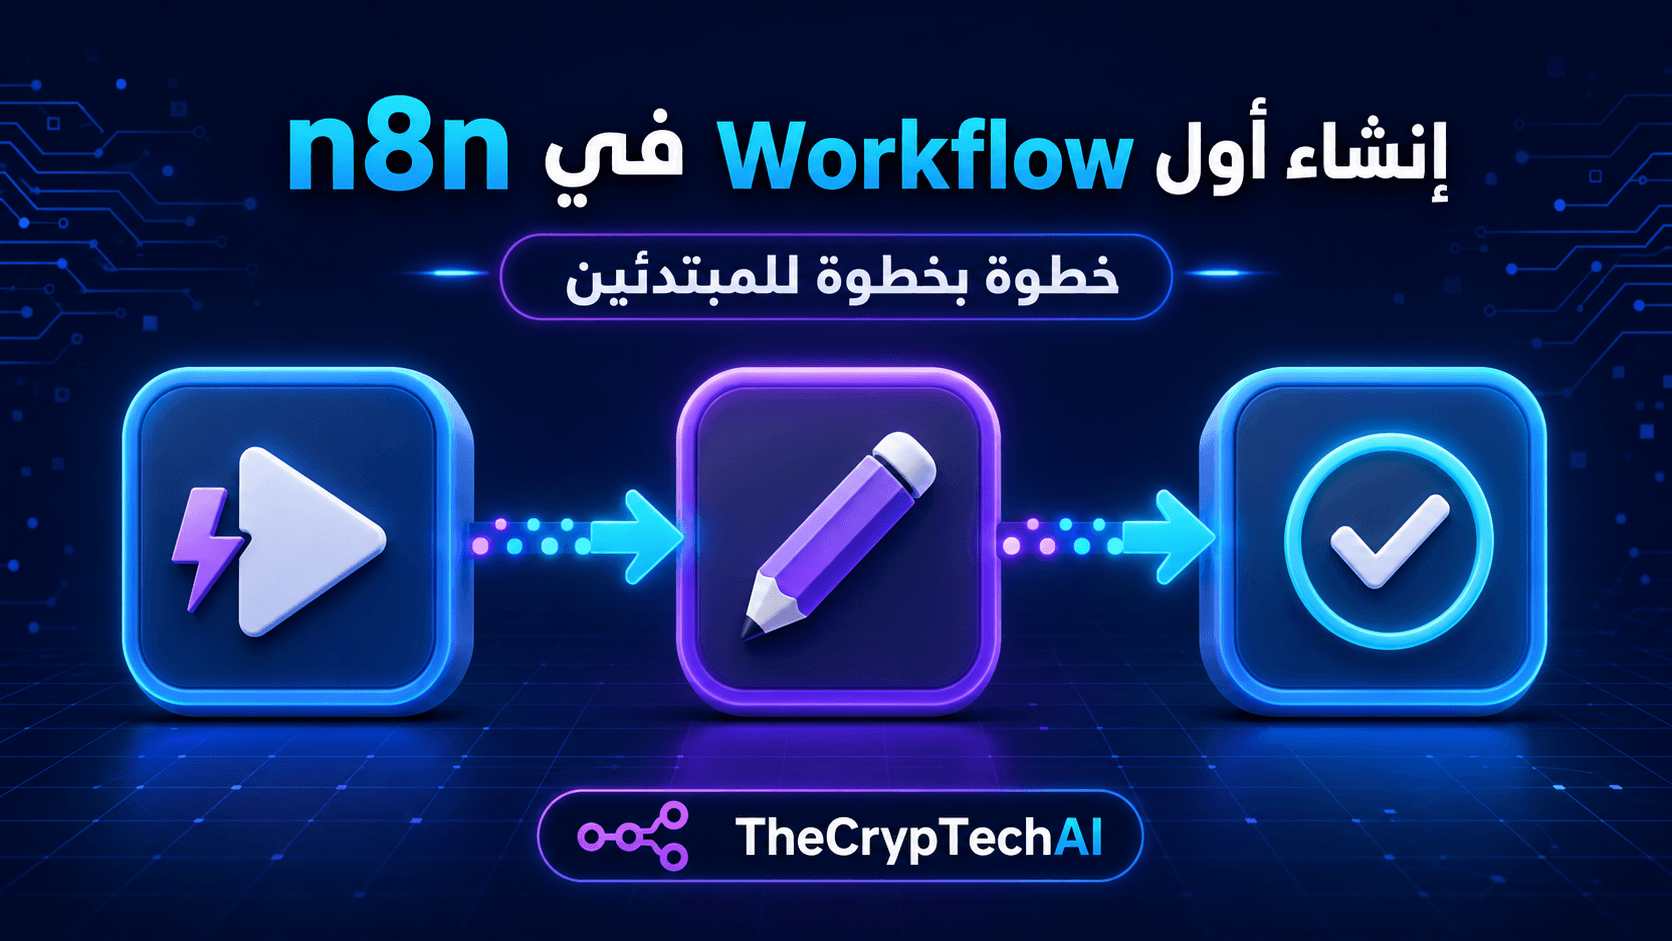
في هذا الدرس سننفذ إنشاء أول Workflow في n8n باستخدام مسار بسيط يبدأ يدويًا، ثم ينشئ بعض البيانات ويعرض النتيجة. لا يحتاج هذا المثال إلى حساب خارجي أو مفتاح API.
1. أنشئ Workflow جديدًا
افتح لوحة n8n، ثم اختر إنشاء Workflow جديد. اكتب اسمًا واضحًا للمسار، مثل:
My First Workflow
تسمية المسارات والعُقد بوضوح تساعدك لاحقًا على معرفة وظيفة كل جزء، خاصة عندما يزداد عدد الـWorkflows.
2. أضف Manual Trigger
أضف عقدة Manual Trigger. تسمح هذه العقدة بتشغيل المسار يدويًا أثناء التعلم والاختبار، بدلًا من انتظار وصول رسالة أو حدوث تغيير في خدمة خارجية.
بعد إضافتها، اضغط زر اختبار أو تنفيذ الـWorkflow. إذا عملت العقدة بنجاح، يمكنك الانتقال إلى الخطوة التالية.
3. أضف عقدة Edit Fields
اضغط علامة الإضافة بعد Manual Trigger، ثم ابحث عن عقدة Edit Fields (Set). نستخدم هذه العقدة لإنشاء بيانات بسيطة أو تعديل البيانات القادمة من عقدة سابقة.
أضف حقلين للتجربة:
- name: TheCrypTechAI
- status: Workflow completed
تأكد من اختيار نوع البيانات النصي للحقلين، ثم احفظ إعدادات العقدة.
4. اختبر مسار العمل
شغّل الـWorkflow مرة أخرى. تبدأ Manual Trigger المسار، ثم تنتقل البيانات إلى Edit Fields، وستظهر النتيجة في لوحة المخرجات.
إذا ظهرت قيمتا name وstatus بصورة صحيحة، فقد أنشأت وشغّلت أول مسار أتمتة بنجاح.
5. احفظ المسار وراجعه
احفظ الـWorkflow بعد نجاح الاختبار. لا تحتاج إلى نشره أو تفعيله لأنه يستخدم Manual Trigger ويعمل فقط عندما تبدأه يدويًا.
إذا لم تظهر النتيجة، راجع اتصال العُقد وتأكد من تشغيل المسار من البداية. يمكنك أيضًا فتح كل Node وفحص بيانات الإدخال والإخراج لمعرفة مكان الخطأ.
يمكنك زيارة
قسم أدوات TheCrypTechAI المجانية
لرؤية أمثلة على مهام رقمية يمكن تطوير مسارات أتمتة مرتبطة بها.
ولمعرفة المزيد عن إنشاء المسارات وإدارتها، راجع
دليل Workflows في وثائق n8n الرسمية.
الخلاصة
اكتمل إنشاء أول Workflow في n8n من خلال ربط Manual Trigger بعقدة Edit Fields، ثم تشغيل المسار ومراجعة النتيجة. ورغم بساطة المثال، فإنه يوضح الفكرة الأساسية لأي أتمتة: مُشغّل يبدأ العملية، وبيانات تنتقل إلى خطوة تنفذ الإجراء المطلوب.
Create Your First n8n Workflow
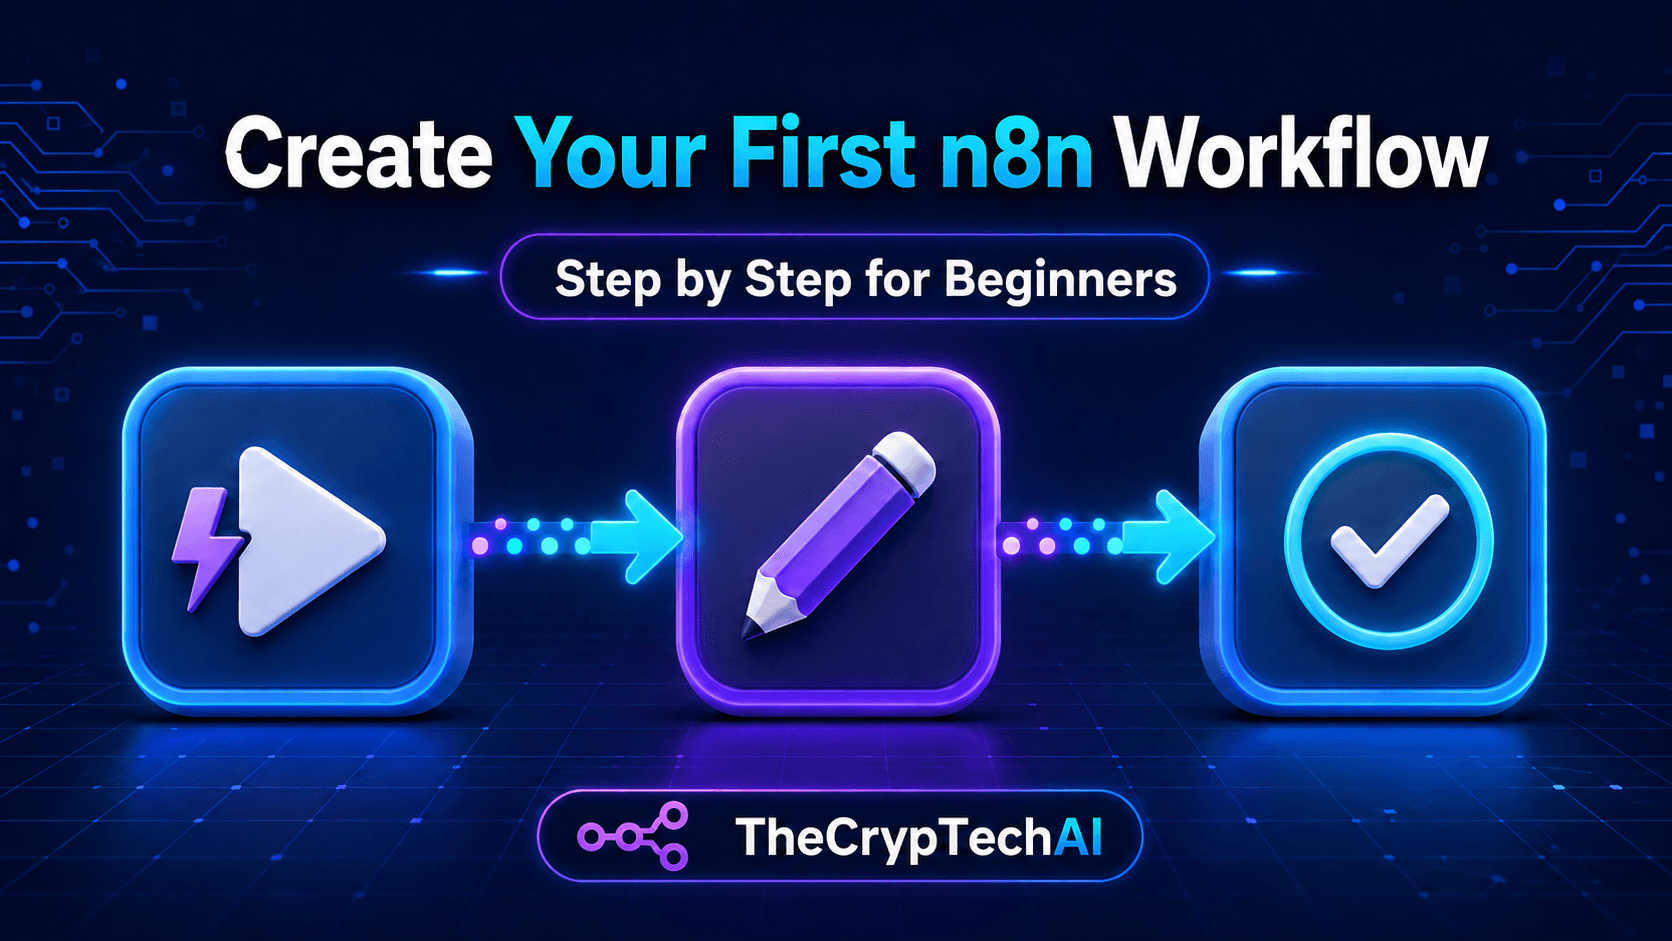
In this lesson, you will create your first n8n workflow using a simple process that starts manually, creates sample data, and displays the result. This example does not require an external account or API key.
1. Create a New Workflow
Open your n8n dashboard and create a new workflow. Give it a clear name, such as:
My First Workflow
Clear names make it easier to understand the purpose of each workflow and node, especially when you create more automation projects.
2. Add a Manual Trigger
Add the Manual Trigger node. This node allows you to start the workflow manually while learning and testing, instead of waiting for a message or an event from an external service.
After adding it, use the workflow test or execution button. If the node runs successfully, continue to the next step.
3. Add the Edit Fields Node
Select the add button after Manual Trigger, then search for Edit Fields (Set). This node can create new information or modify data received from a previous node.
Add these two sample fields:
- name: TheCrypTechAI
- status: Workflow completed
Choose the text data type for both fields, then save the node settings.
4. Test the Workflow
Run the workflow again. Manual Trigger starts the process, and the data moves to Edit Fields. The final information should appear in the output panel.
If the name and status values appear correctly, you have successfully created and executed your first automation workflow.
5. Save and Review the Workflow
Save the workflow after the test succeeds. You do not need to publish or activate this example because it uses Manual Trigger and only runs when you start it manually.
If the expected result does not appear, check the connection between the nodes and run the workflow from the beginning. You can also open each node and inspect its input and output data to identify the problem.
Explore the
free tools available from TheCrypTechAI
to see examples of digital tasks that could be connected to future automation workflows.
For more information about creating and managing workflows, read the
official n8n workflow documentation.
Key Takeaway
You can create your first n8n workflow by connecting Manual Trigger to Edit Fields, running the workflow, and reviewing the output. Although this example is simple, it demonstrates the basic structure of automation: a trigger starts the process, and data moves to another node that performs the required action.
اختبر فهمك
Check Your Understanding
سؤالان سريعان لتثبيت أهم ما تعلمته.
Two quick questions to reinforce the key ideas.